How Lighting Shapes Space Design
Learn how to use ReRoom’s Enhance tool to adjust interior lighting, create atmosphere, and improve spatial depth with targeted lighting edits.
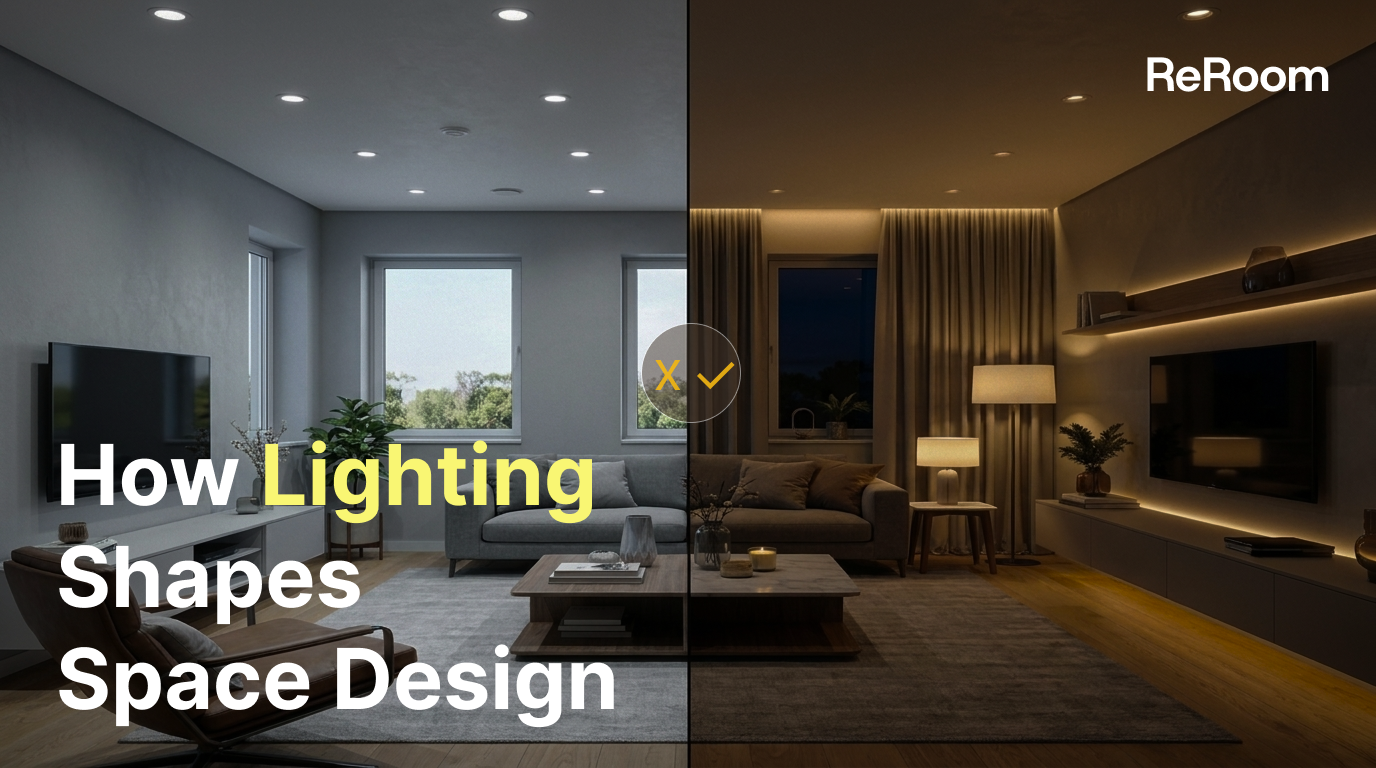
Why lighting matters in interior design
After generating a basic interior rendering, it is tempting to submit the image immediately. But in many cases, the difference between a flat image and a convincing design comes from lighting.
Lighting affects how people read the space. It controls atmosphere, highlights key areas, adds depth, and changes how materials feel. In this tutorial, we’ll use ReRoom’s Enhance workflow to improve lighting after the first rendering is already created.
Step 1 — Log in and open Enhance
First, log in to ReRoom and go to the Enhance page. From there, open the AI Lighting tool.
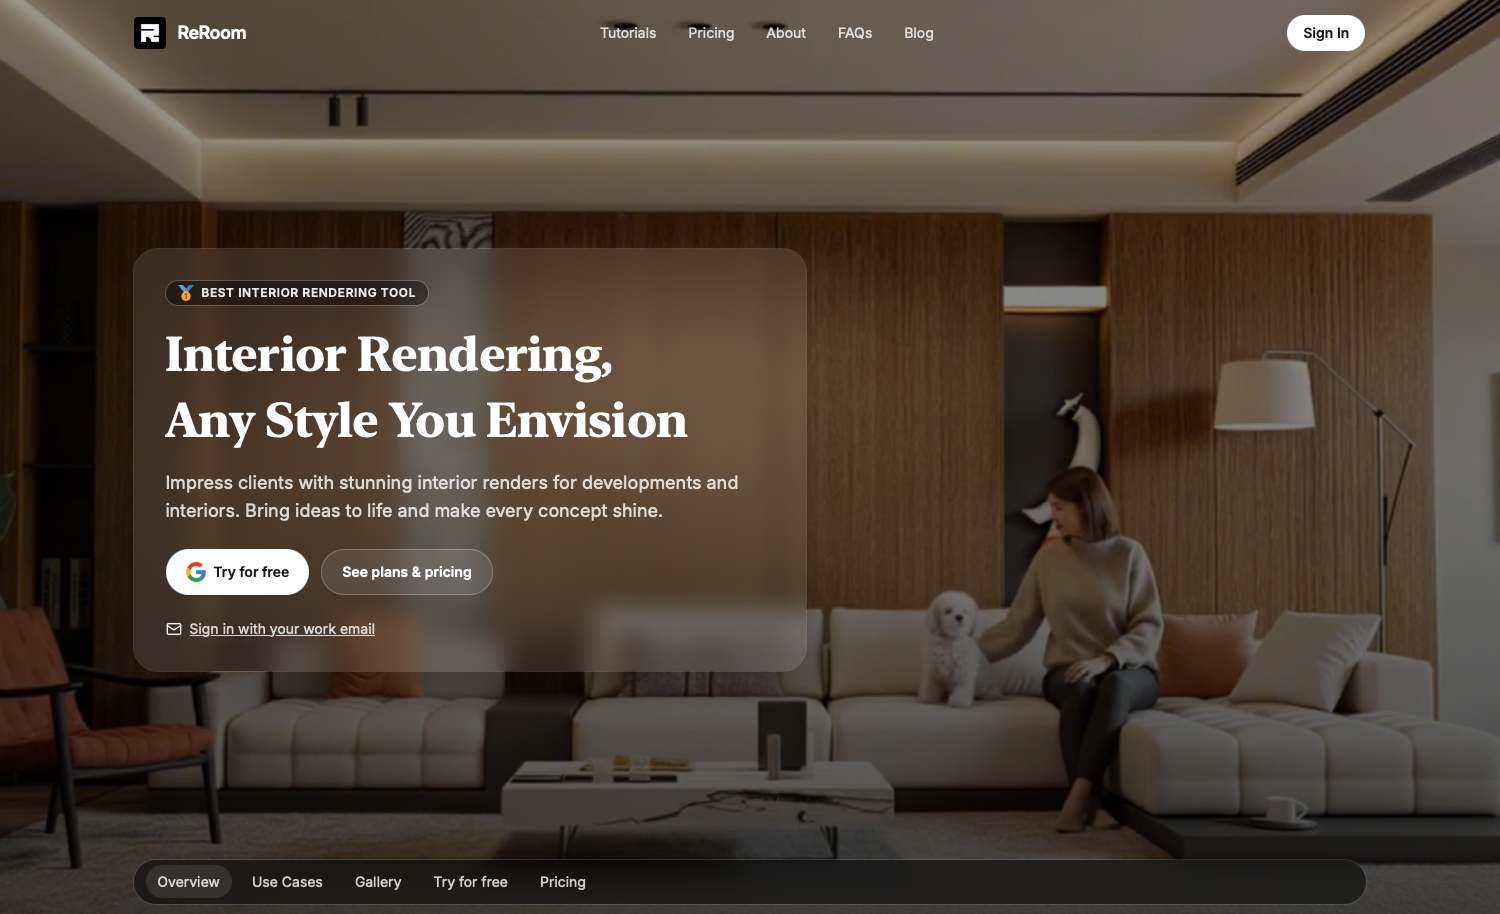 Figure 01. Log in and open Enhance
Enhance is useful when you already have a base rendering but want to adjust a specific part of the image. Instead of regenerating the entire room, we can target only the areas that need lighting improvement.
This is especially helpful for interior design images because lighting problems are often local: a dark corner, a flat wall, a sofa area without focus, or a dining table that needs a warmer atmosphere.
Step 2 — Upload your interior rendering
Next, upload the image you want to improve. This can be a rendering generated in ReRoom, a design draft, or another interior visualization.
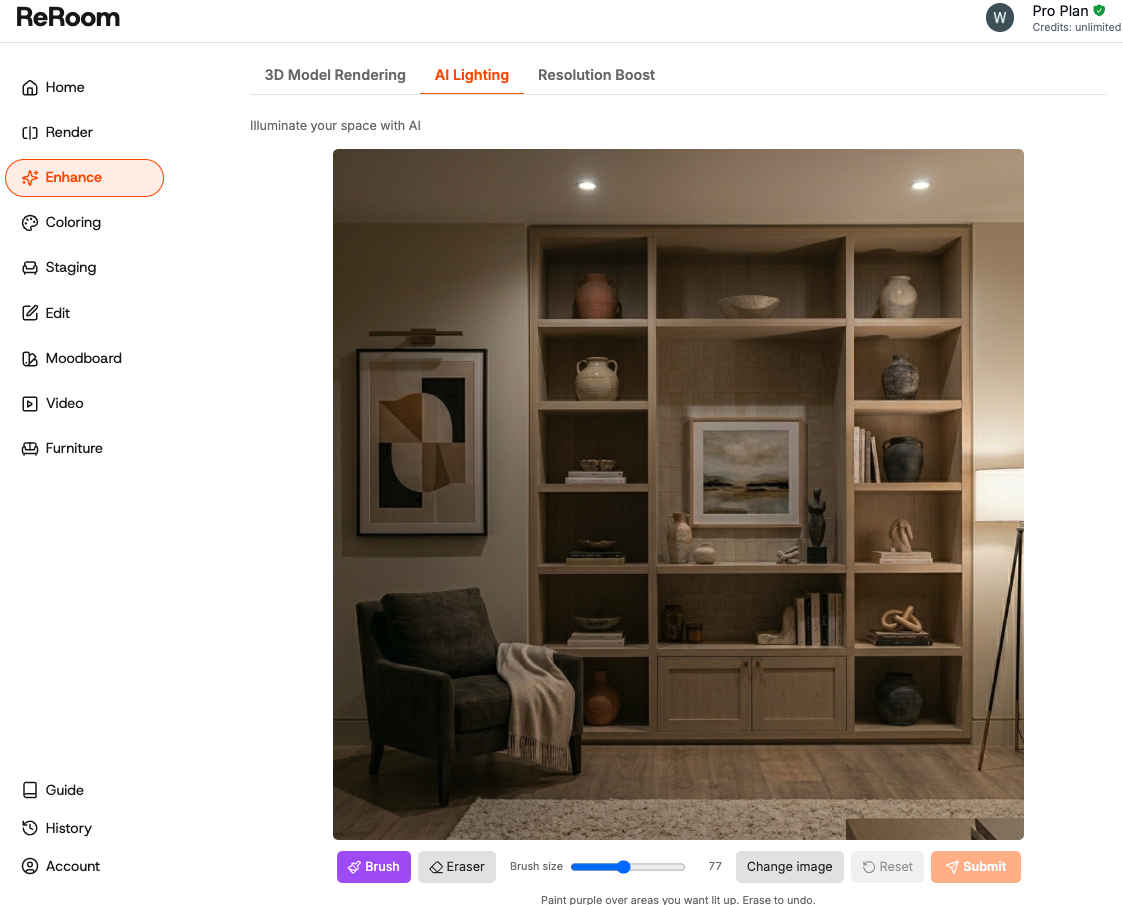 Figure 02. Upload the interior rendering you want to edit
Before editing, we usually check three things: whether the room has dark corners, whether the lighting feels too flat, and whether the main furniture areas have enough visual focus.
If the whole room is evenly bright, the image may look clean but lack depth. If the image only uses strong white light, the space may feel cold or overexposed.
Step 3 — Brush the area you want to relight
After uploading the image, use the brush tool to mark the area you want to enhance. For example, you can brush over a dark corner, the sofa area, the dining table, a display cabinet, or a feature wall.
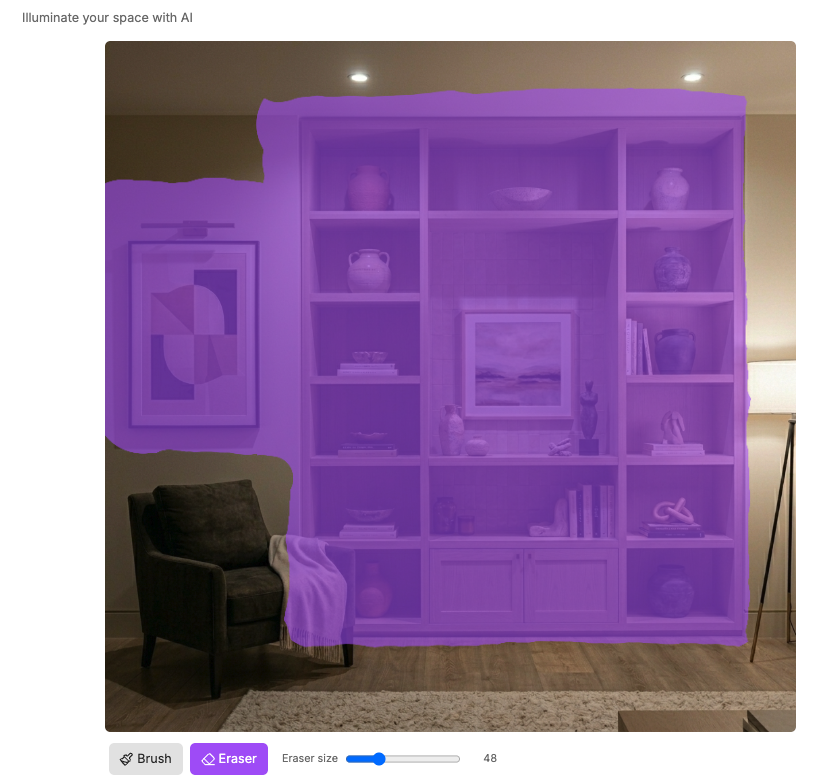 Figure 03. Brush the area where you want to improve the lighting
The key is to avoid brushing the entire image unless you really want a global change. For lighting edits, smaller brushed areas usually produce more controlled results.
For example, if the sofa area feels too dark, brush only the sofa zone and nearby wall. If the dining area needs atmosphere, brush around the table and pendant light area.
Step 4 — Submit and compare the result
After brushing the target area and writing the prompt, click Submit to generate the enhanced version.
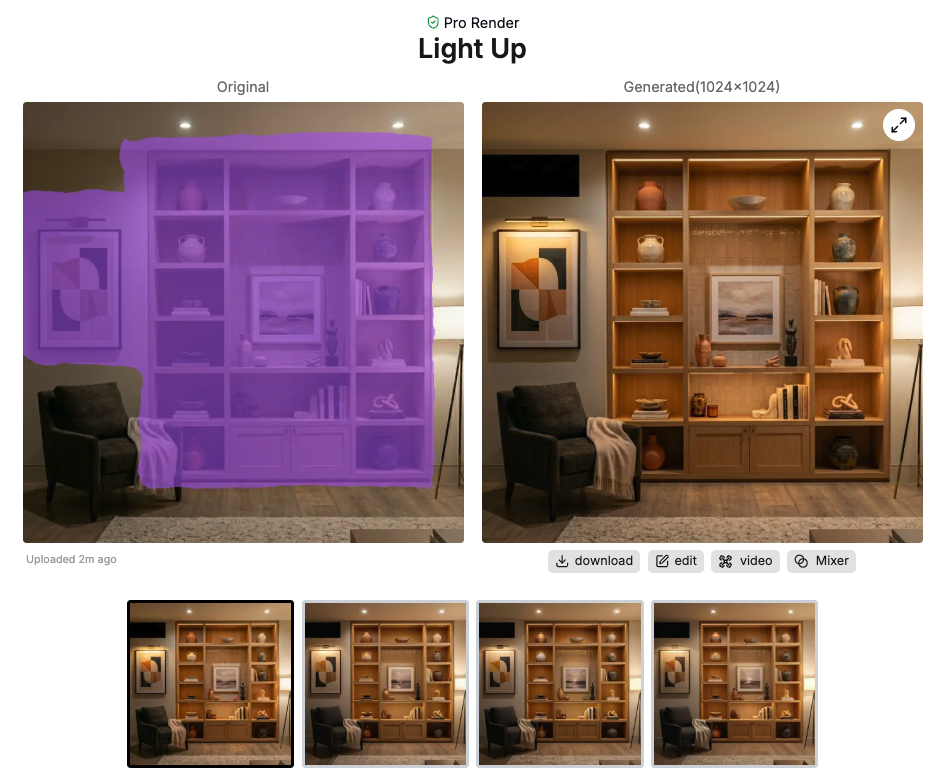 Figure 04. Submit the lighting edit and compare the result
We recommend comparing the result with the original image before deciding whether to keep it. Check whether the lighting improves the mood, whether the focal area is clearer, and whether the material still looks natural.
Sometimes the best result is not the brightest one. A good lighting edit should make the space feel more intentional, not simply more exposed.
Step 5 — Add shadows and contrast
One common mistake in AI interior rendering is making the light too flat. When every surface has the same brightness, the room loses depth.
To create a more realistic result, we intentionally add shadows, directional light, and contrast.
cinematic shadows, contrast lighting, directional light, realistic depth, layered interior atmosphere
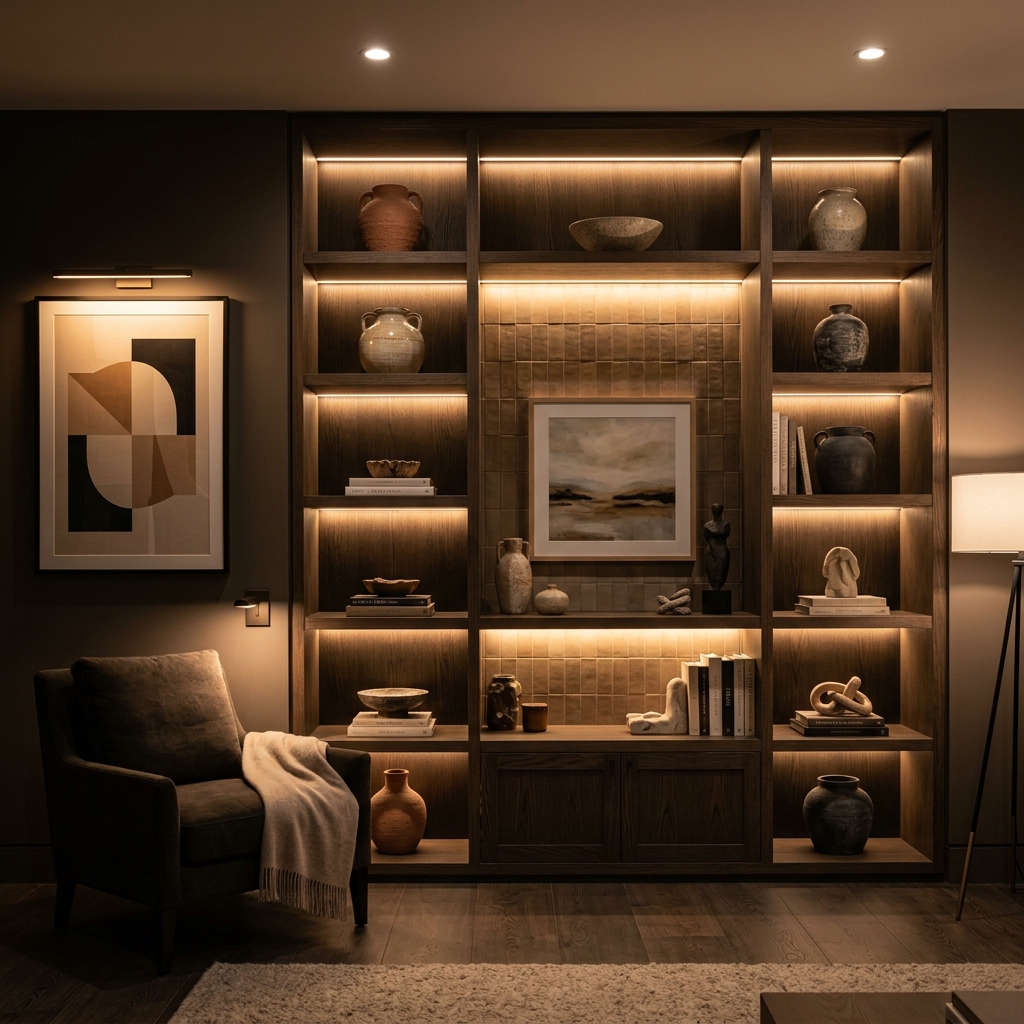 Figure 05. Shadows and contrast help create stronger spatial depth
The goal is not to make the image darker. The goal is to create a better balance between light and shadow so that furniture, walls, and materials feel more three-dimensional.
What we learned from lighting edits
Lighting is not just a finishing effect. It changes how people understand the space.
In our workflow, we try to use lighting to solve specific design problems: removing dark corners, softening harsh white light, adding focus to key furniture, creating shadows and contrast, and choosing the right color temperature for the space type.
ReRoom still cannot replace a designer’s lighting judgment. But it can help us test lighting directions quickly and make early-stage interior renderings easier to review, compare, and discuss.
Related posts
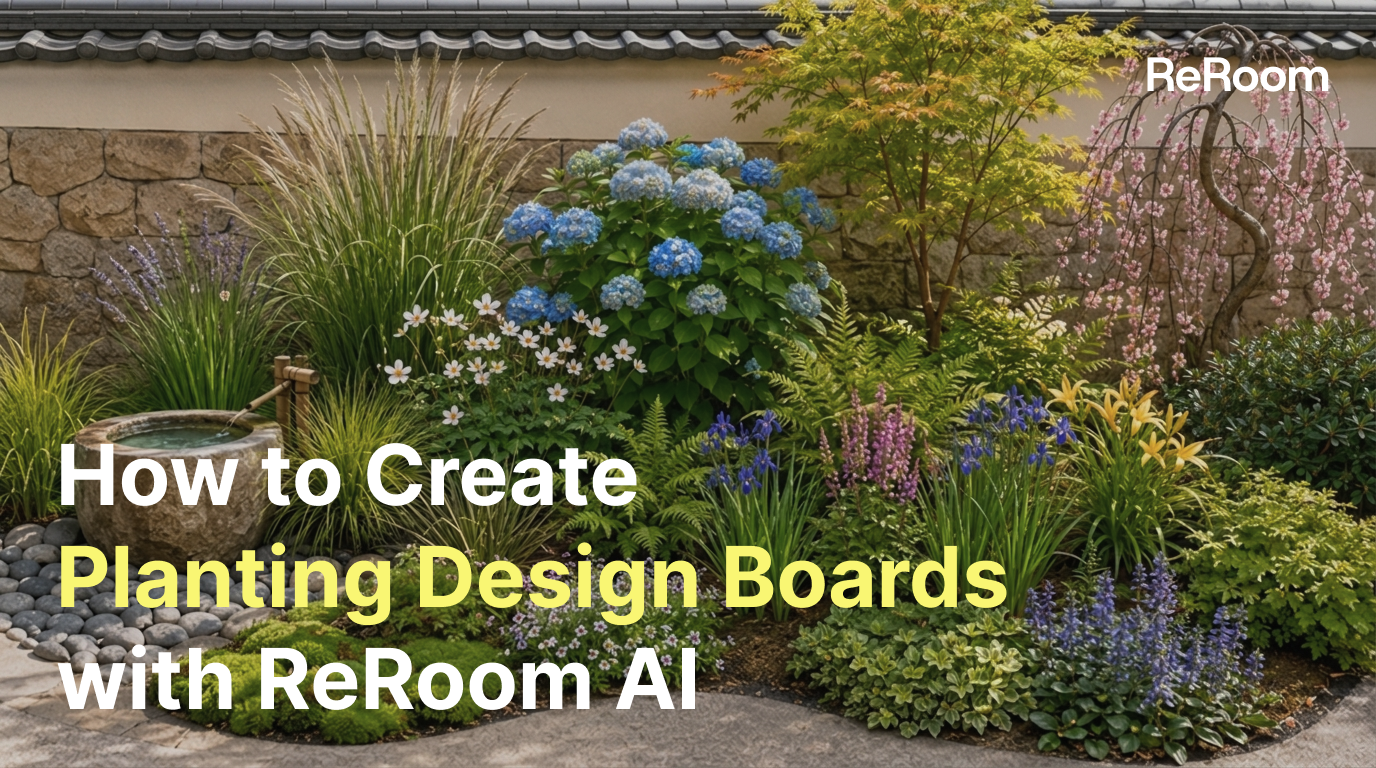
How to Create Planting Design Boards with AI
A planting design board is not just a plant collage. It turns climate, water use, and atmosphere into a clear proposal direction.
Willy·2026年7月24日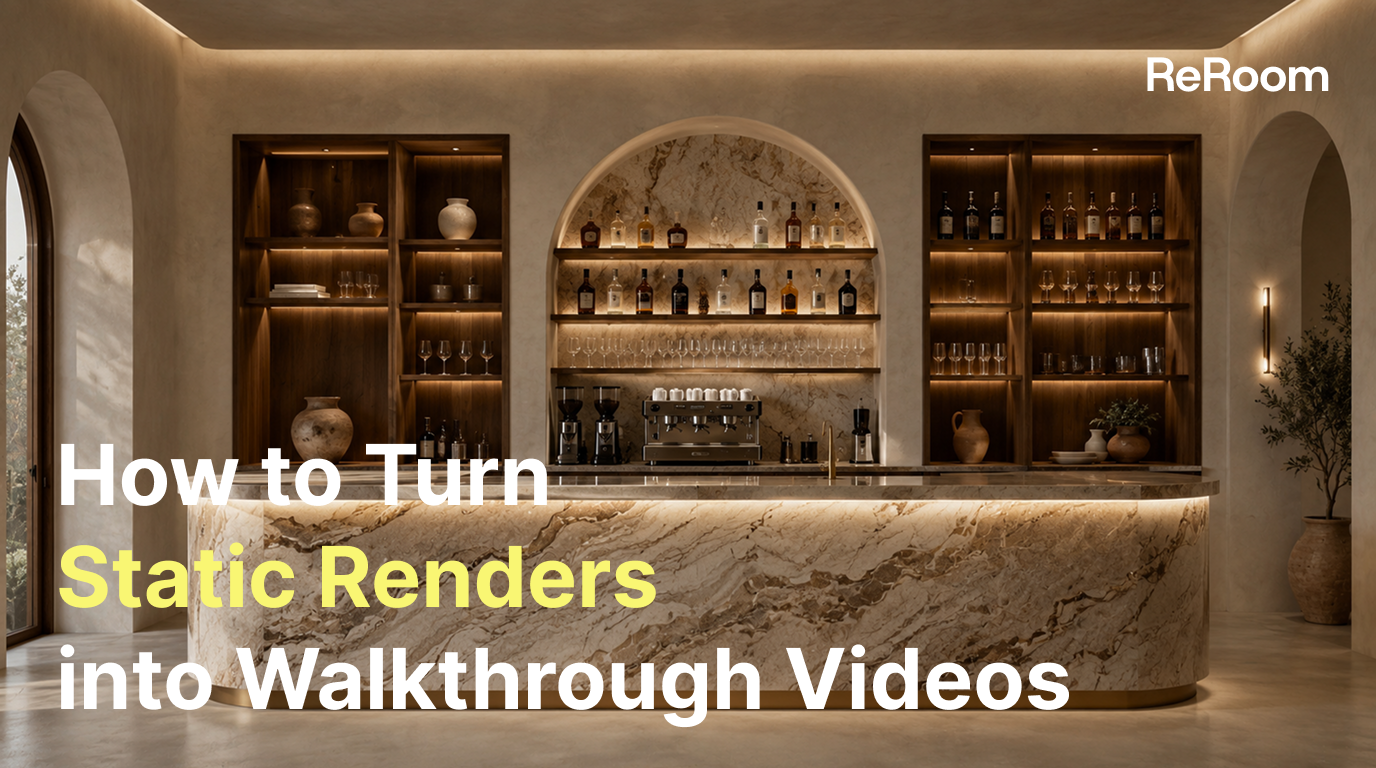
How to Turn Static Renders into AI Walkthrough Videos
A static render can become more than a single image. With the right video prompt, it can turn into an immersive spatial walkthrough.
Willy·2026年7月21日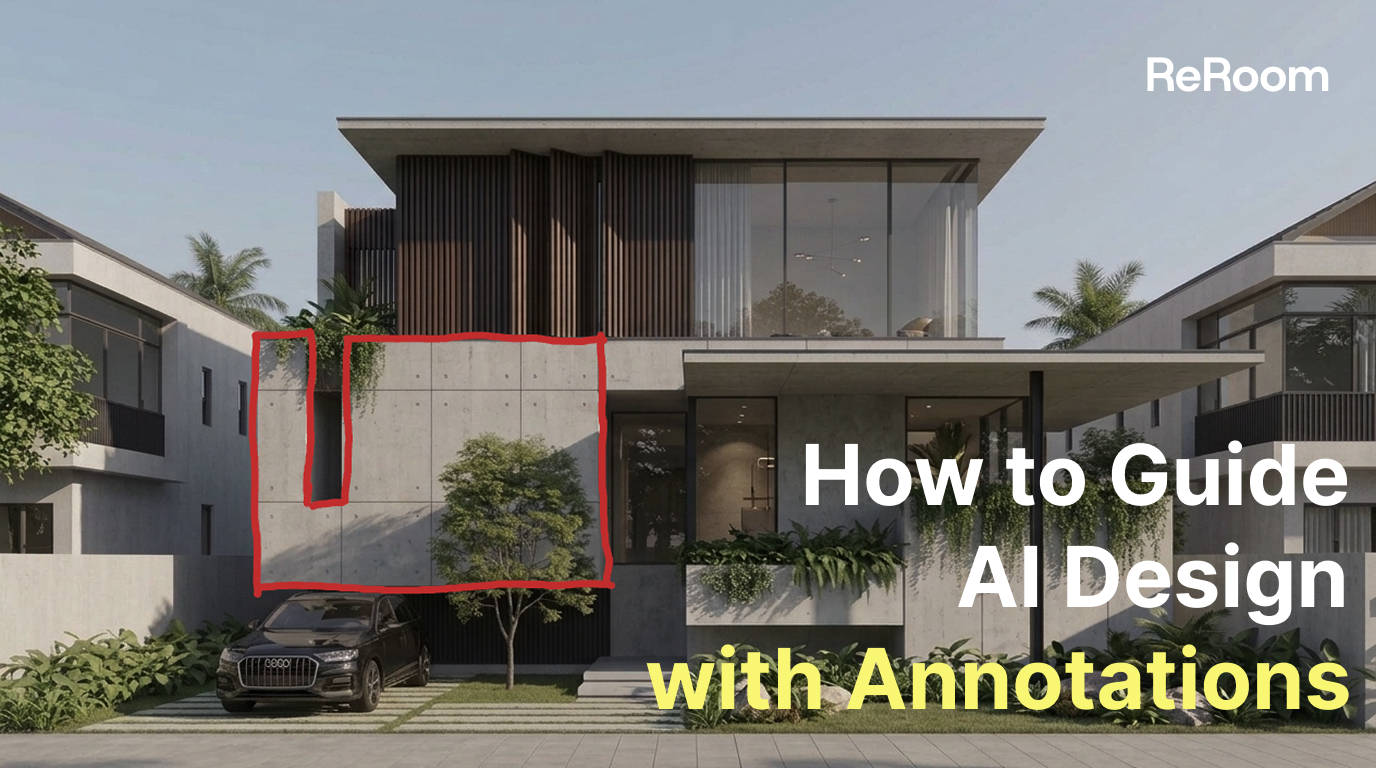
How to Guide AI Design with Annotations
Sometimes drawing directly on the image is more accurate than writing a longer prompt.
Willy·2026年7月16日